If you have a fish tank, you know that the rocks can get pretty dirty. But don’t worry; cleaning your fish tank rocks is easier than it may seem. Your fish tank will look brand new with elbow grease and the right tools.
Why Cleaning Fish Tank Rocks Can Be Important
If you have a fish tank, chances are you’ve heard about the importance of cleaning the rocks regularly. But why is it so important? There are a few good reasons.
First, over time, fish tank rocks can get dirty. Algae and grime can build up, making them less attractive and potentially harmful to your fish.
Second, cleaning fish tank rocks helps to prevent the spread of disease. If one of your fish gets sick, cleaning the stones can help to prevent the disease from spreading to other fish in the tank.
Finally, regular cleanings can help extend your fish tank’s life. Keeping the rocks clean will help keep the water quality high and ensure your fish have a healthy environment.
Is Cleaning Your Rocks and Other Hardscapes Necessary?
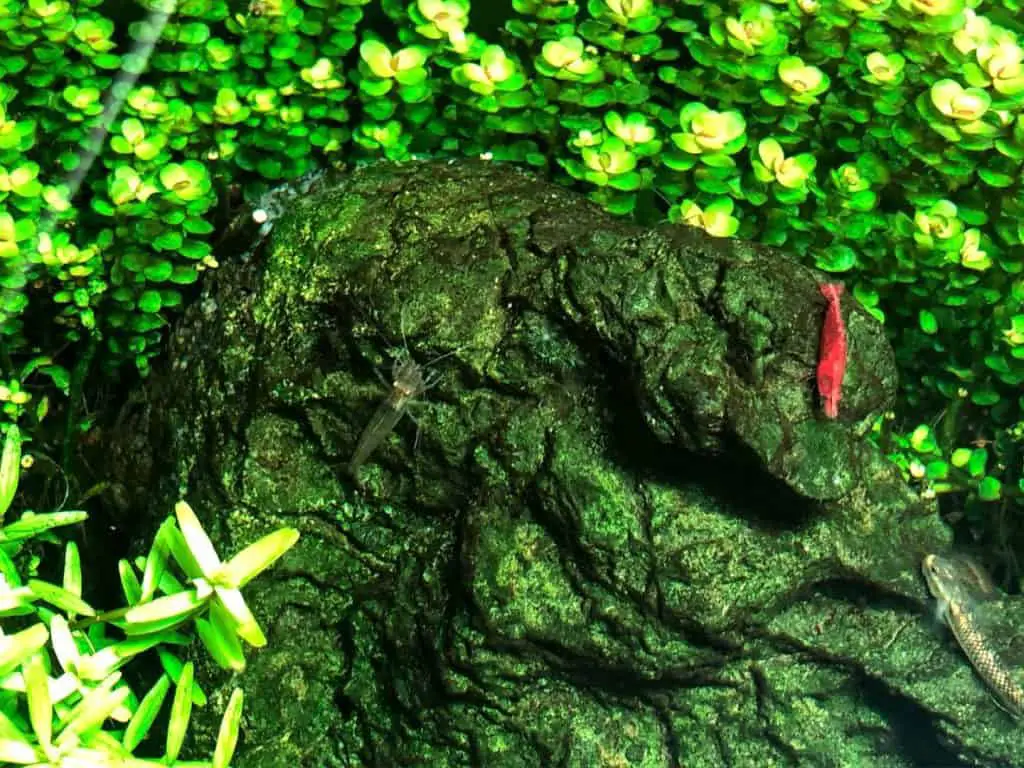
Clean rocks in an aquarium are only crucial for the overall look of your fish tank. Algae and other biofilms may not look nice, but they are not harmful to your fish or shrimp, and they are beneficial and provide lots of nutrients for your fish and shrimp.
How Often Should You Clean Your Aquarium Rocks?
Keeping your fish tank rocks clean is essential for a clean aesthetic, but how often should you do it? Depending on the size and type of your aquarium and the number of fish and other animals, you may need to clean your fish tank rocks every two weeks, every month, or every quarter.
If you have a small aquarium with only a few fish, you can get away with cleaning the rocks once a month, maybe longer. But if you have a larger fish tank with more fish or other animals in the tank, like crabs or snails, or shrimp, you may not need to clean the rocks.
The best way to know is to keep an eye on your fish tank and see how quickly the rocks get dirty.
What You Need to Clean Your Rocks and Hardscape: List of Items
Before starting to clean your fish tank rocks, you will need the following supplies:
- a bucket
- gloves
- an old toothbrush or other small brush
- a soft cloth
- (optional) Hydrogen peroxide
- tap water
Cleaning fish tank rocks is simple, but it is essential to do it properly to maintain a healthy environment for your fish.
Step 1: Removing Rocks from The Tank
No matter the size of your aquarium, you will need to remove rocks at some point. This is usually done during a routine cleaning when you pull everything out to vacuum the gravel and clean the tank walls. While it may seem daunting, removing rocks from your aquarium is relatively easy.
To remove rocks from your aquarium, start by draining the water level down so that the rocks are exposed. Using a small bucket or cup, gently scoop out the stones one at a time and place them in a safe location. Once all the rocks have been removed, give the aquarium a good cleaning before putting the rocks back in place.
While removing rocks from your aquarium may seem like a hassle, it’s pretty easy and only takes a few minutes. Plus, it’s an excellent opportunity to clean your aquarium well!
Step 2: Scrubbing the Rocks
Start by rinsing off the rocks with clean water. This will remove any debris that could fall into the tank and contaminate the water.
Scrubbing the aquarium rocks to clean them is necessary for aquarium maintenance. However, it is essential to do so carefully to avoid damaging the stones or harming the fish.
To scrub the rocks, first, remove them from the aquarium and rinse them off with clean water. Then, gently scrub the rocks with mild detergent using a soft brush. Rinse the rocks well and return them to the aquarium.
It is crucial to scrub the rocks regularly to keep the aquarium clean and healthy for the fish. However, do so carefully to avoid damaging the rocks or fish.
Step 3: Rinsing the Rocks
After cleaning, it is essential to rinse the rocks, which will help remove any dirt or debris left on the rocks. Rinsing the rocks will also help to prevent any bacteria from growing on the rocks.
When you have difficulty cleaning the algae from your hardscape, you can use hydrogen peroxide (with caution). More about this further in this article.
Step 4: Putting the Rocks Back in The Tank
Once all the rocks have been cleaned, it is time to put them back into the aquarium.
This process is relatively easy, but there are a few things to remember. First, ensure that all the rocks are completely dry before putting them back into the tank. If even one rock is wet, it could contaminate the entire aquarium. Second, take your time when placing the rocks back into the tank. It is essential to create a stable foundation, so the rocks stay intact and in the water.
Cleaning Your Rocks and Hardscape with Hydrogen Peroxide
When cleaning your rocks or other hardscapes becomes too difficult because of hard-to-remove algae, there is a safe option that will surely work. When sprayed on the algae, hydrogen peroxide will kill it, and it is a clean way to remove algae from your hardscape. The only downside to hydrogen peroxide is that it kills the beneficial bacteria and biofilm living in and on your rocks.


Conclusion
It’s not difficult to do, but it requires special care so that you don’t damage or disturb the beneficial bacteria that live on them.